Rainscreen Siding Installation
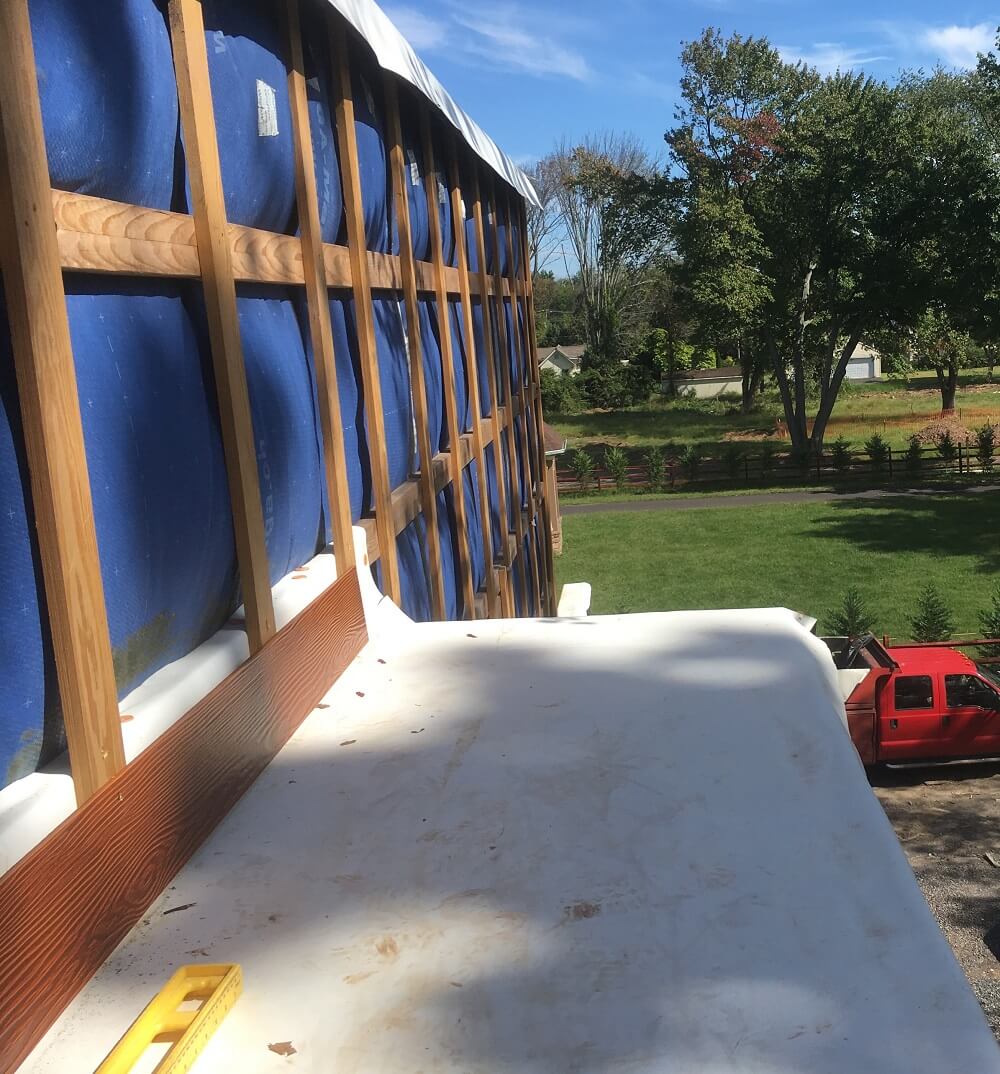
With the airtight house envelope and exterior insulation specified well beyond building codes, the walls should still be able to “breathe” to the exterior. One of the siding installation methods that work in this case is a rainscreen wall. The rainscreen siding is installed over a system of wooden boards or metal studs built around the exterior. The very thickness of the installed boards creates an air gap separating wall sheathing (with or without exterior insulation) from the siding. Any outside moisture that gets through the siding quickly dries out inside this air channel. By the same logic, if exterior insulation is used, any potential moisture trapped inside the insulation material evaporates out via a breathable membrane and gets picked up by the same air channel.
Pressure-treated wood vs. metal
After a short debate with my PH consultant, we decided to go with the wood option for the rainscreen support system. The 1×4 pressure-treated boards are a considerably cheaper choice than metal and faster to install. Keep in mind once PT wood dries out, it will “play” a bit. Thanks to its 3/4″ thickness, the boards might also shrink and buckle. These dimensional deformations are known properties and should be taken into consideration when choosing siding materials and installation techniques. For instance, long cedar or fiber cement planks will hold up just fine with slight structural movement behind them. Large fiber cement panels might crack at the corners or between mounting holes if not installed properly.
Installing fiber cement siding
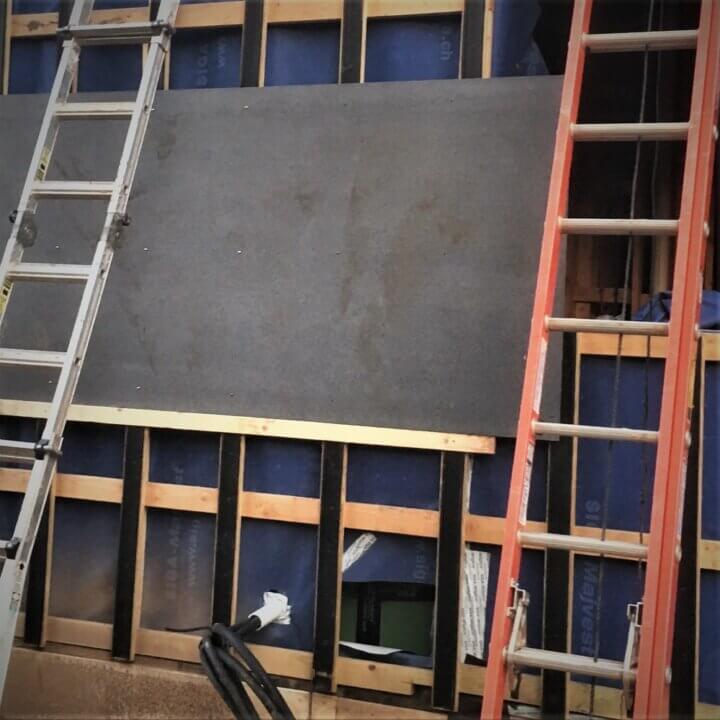
To minimize siding maintenance, we decided to go with fiber cement for our rainscreen. As mentioned earlier, the air gap is usually achieved by mounting 1×4-inch pressure-treated spacer boards directly to the wall sheathing. Since we used exterior insulation for our NOK project as well, an extra framing had to be built to “cage” it in. The spacer boards were placed vertically 16” OC around the entire perimeter from top to bottom. Then the siding went directly on top of the spacers using more conventional installation methods.

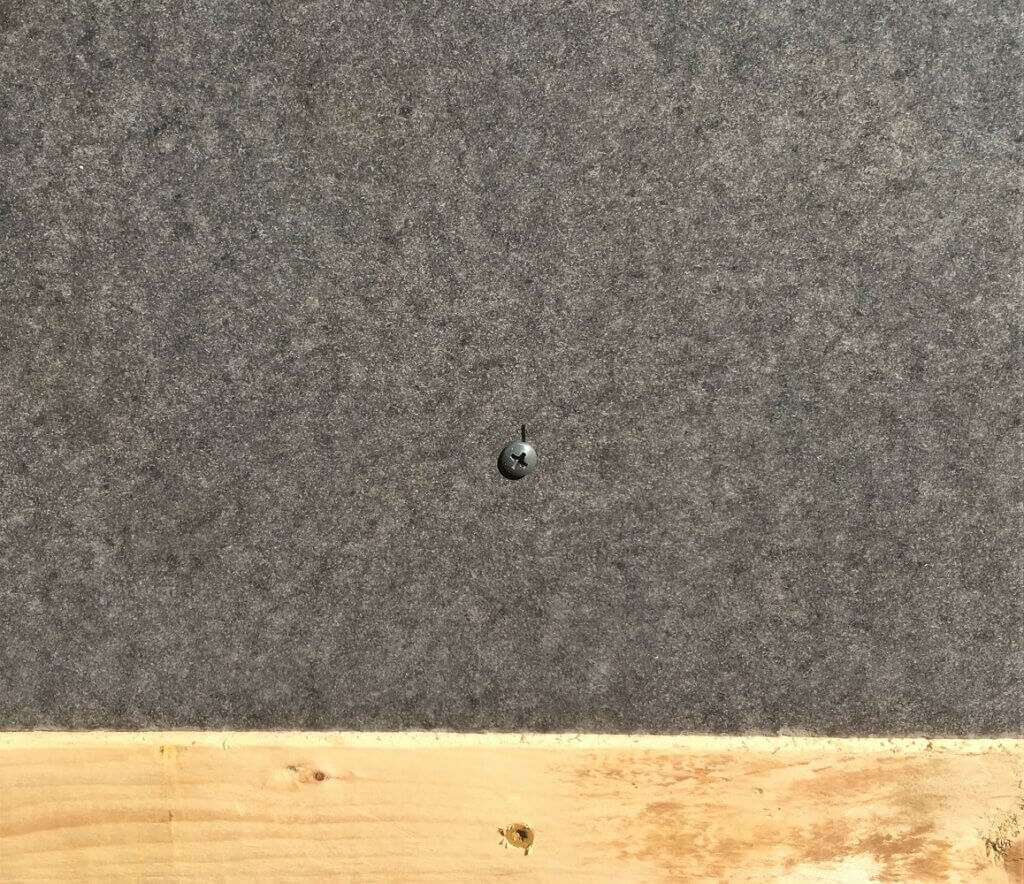
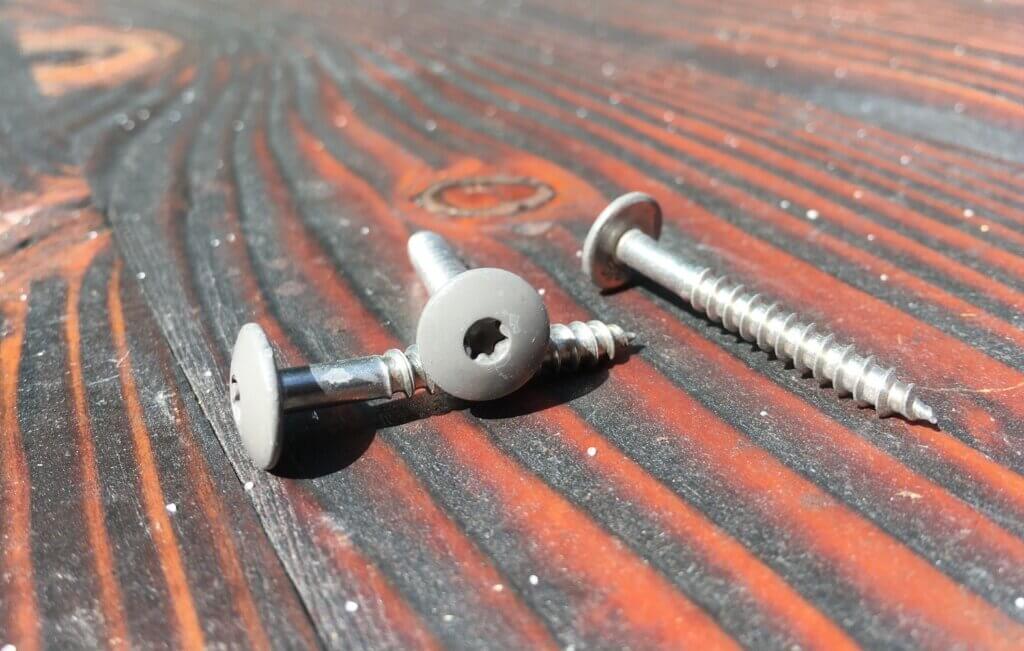
There were two different fiber cement products used for the project. The “wood” planks are 7-1/2” stained boards by Allura. They accept nails (galvanized or SS roof nails work best) and can be installed by one person with the right equipment. The large grey panels are 4×8-foot sheets of color-through fiber cement that we had to order overseas. The panels proved to be rather heavy at 92 pounds each and needed three people to install. We used scrap wood boards to create temporary supports and used pilot screws to keep the panels in place. One of the crucial parts of the process was to find the right fasteners for the job. Multiple online resources lead me to SFS Intec. Their products are specifically designed for concrete and cement board fastening, they are self-tapping stainless screws with a great “bite”. They can also be ordered with painted heads to match your siding color.
Important considerations
When installing large fiber cement panels, make sure your 1×4 structural boards are covered with a layer of EPDM-like underlayment strips. They help a lot with the panel movement over time and minimize pressure points. For the same purposes, make sure your mounting holes are about 1/16″ larger than the screw thread diameter. I know it can be very tempting at times but DO NOT OVERTIGHTEN THE SCREWS! Set your screwdriver at different power settings and try it on a couple of mounting samples before the real installation.


