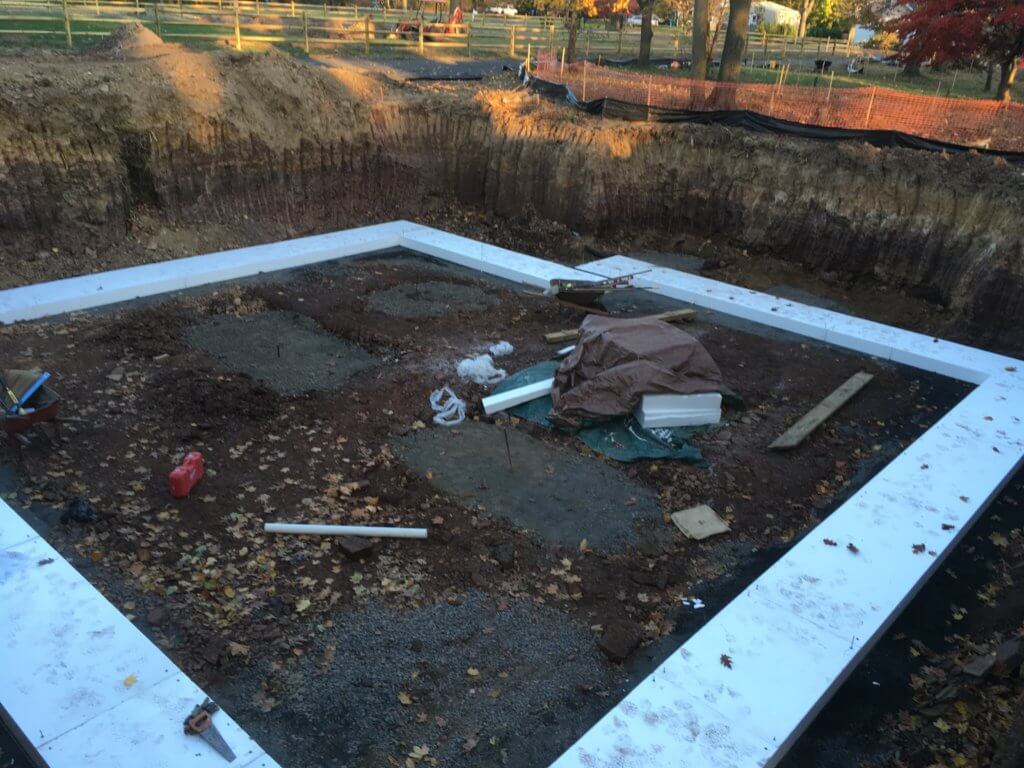
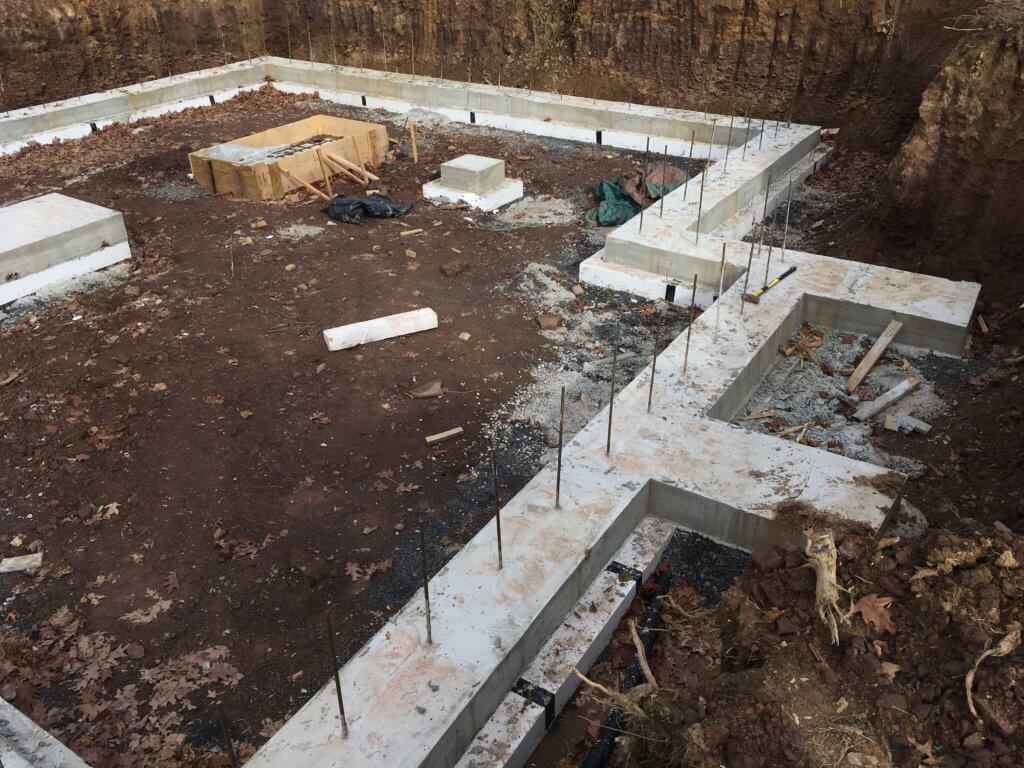
Thermally broken Passive House foundation
The major twist of the Passive House concept is the absence of a thermal bridge. By partially quoting Wikipedia, this could be defined by any structural component with a higher thermal conductivity than the surrounding materials that can create a path of least resistance for heat transfer. In layman’s terms, it’s a thermal portal that needs to be broken. In order to achieve this, the entire house envelope must be sealed and air-tight from the ground up.
It’s all about insulation
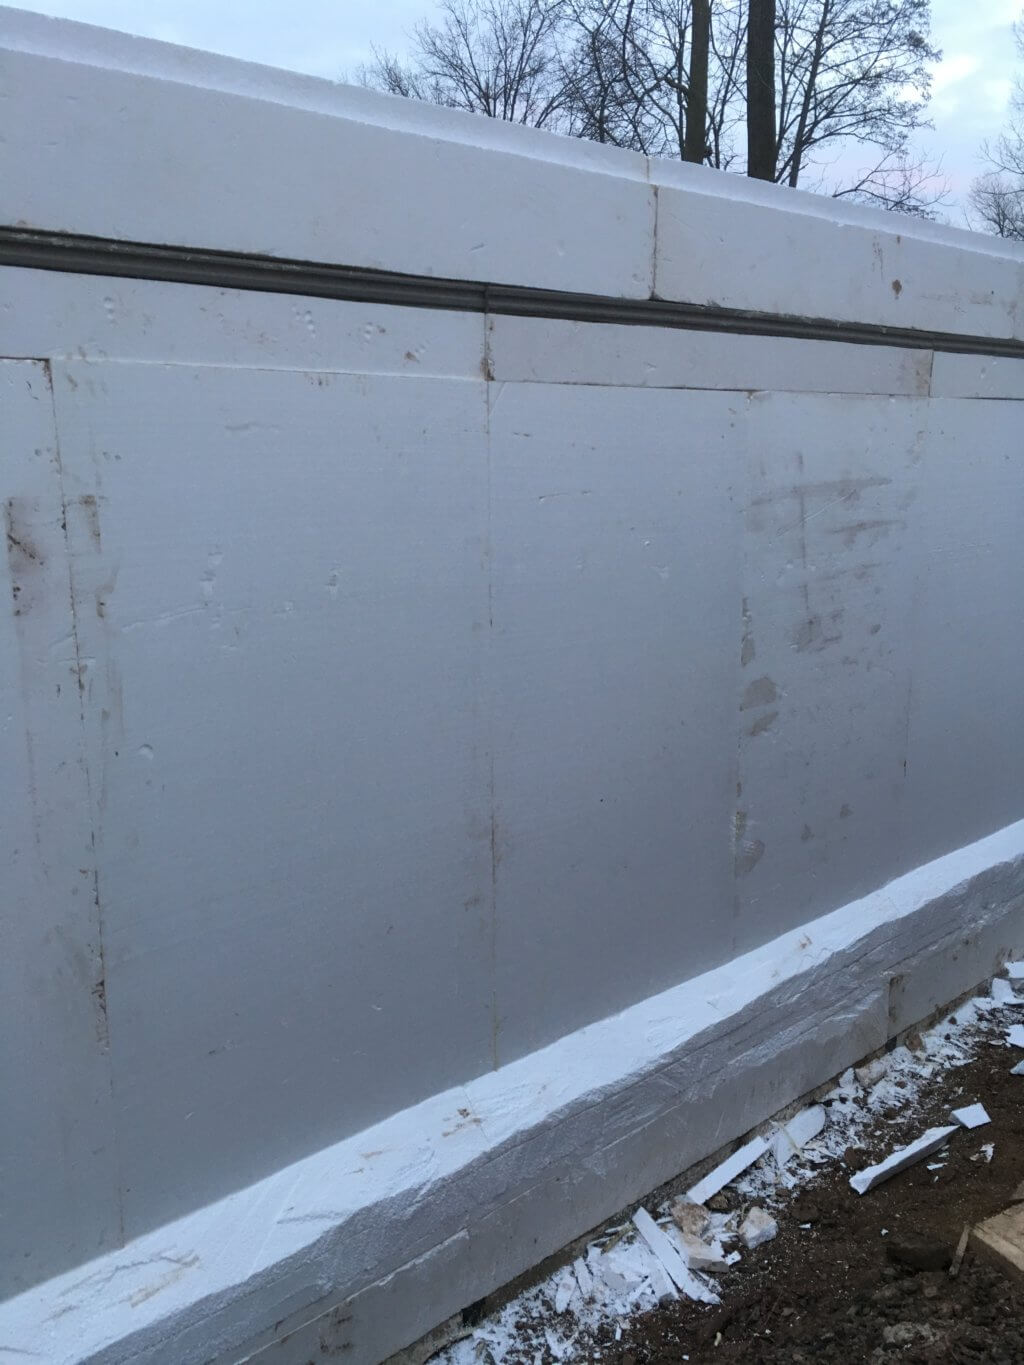
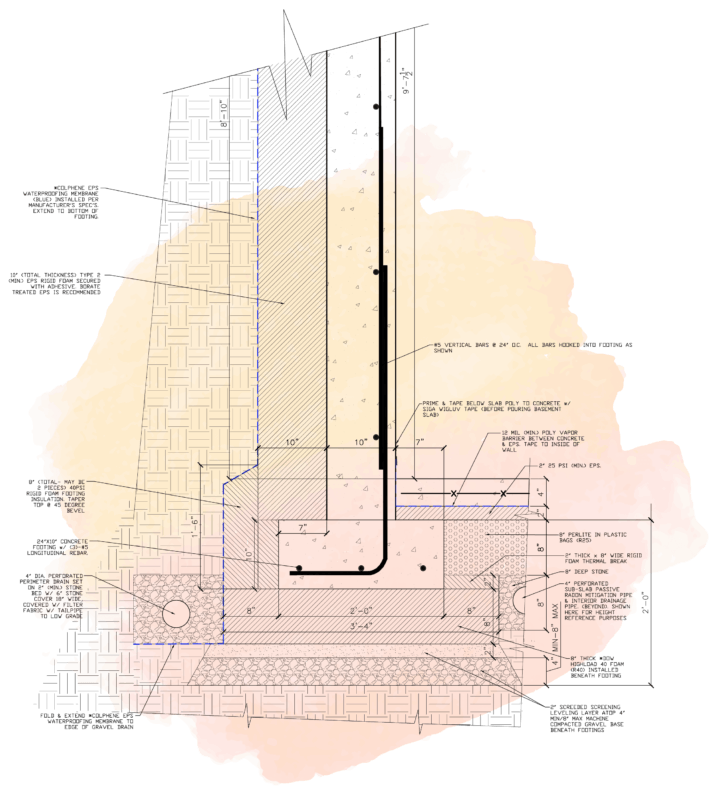
Below are a thermally broken foundation and basement wall detail for the NOK Passive House project. As shown, an insulation layer should run continuously under footings, walls, and basement slab. The amount of insulation is calculated based on the size of the house and the local climate. The type of insulation is limited to sturdy 25-40 PSI foam since it needs to support the distributed weight of the entire house. In this case, it is 10” of EPS foam on the walls, 8” under the entire footing perimeter, and about 10” under the basement slab.
And yes, of course, I was worried about the weight. Really worried …until I saw an excavator lively crossing over one of those foam slabs barely doing any damage. My peace of mind was fully restored that day.
There were also some concerns about material sourcing and the price tag. Fortunately, it was somewhat easier than I thought. There were local suppliers in the area willing to work with contractors, builders, and homeowners alike. The prices were marginally different, so the winner was the company with the lowest delivery cost. The slabs usually come fresh off the production line, very well packed, cleanly cut, and ready to go.